

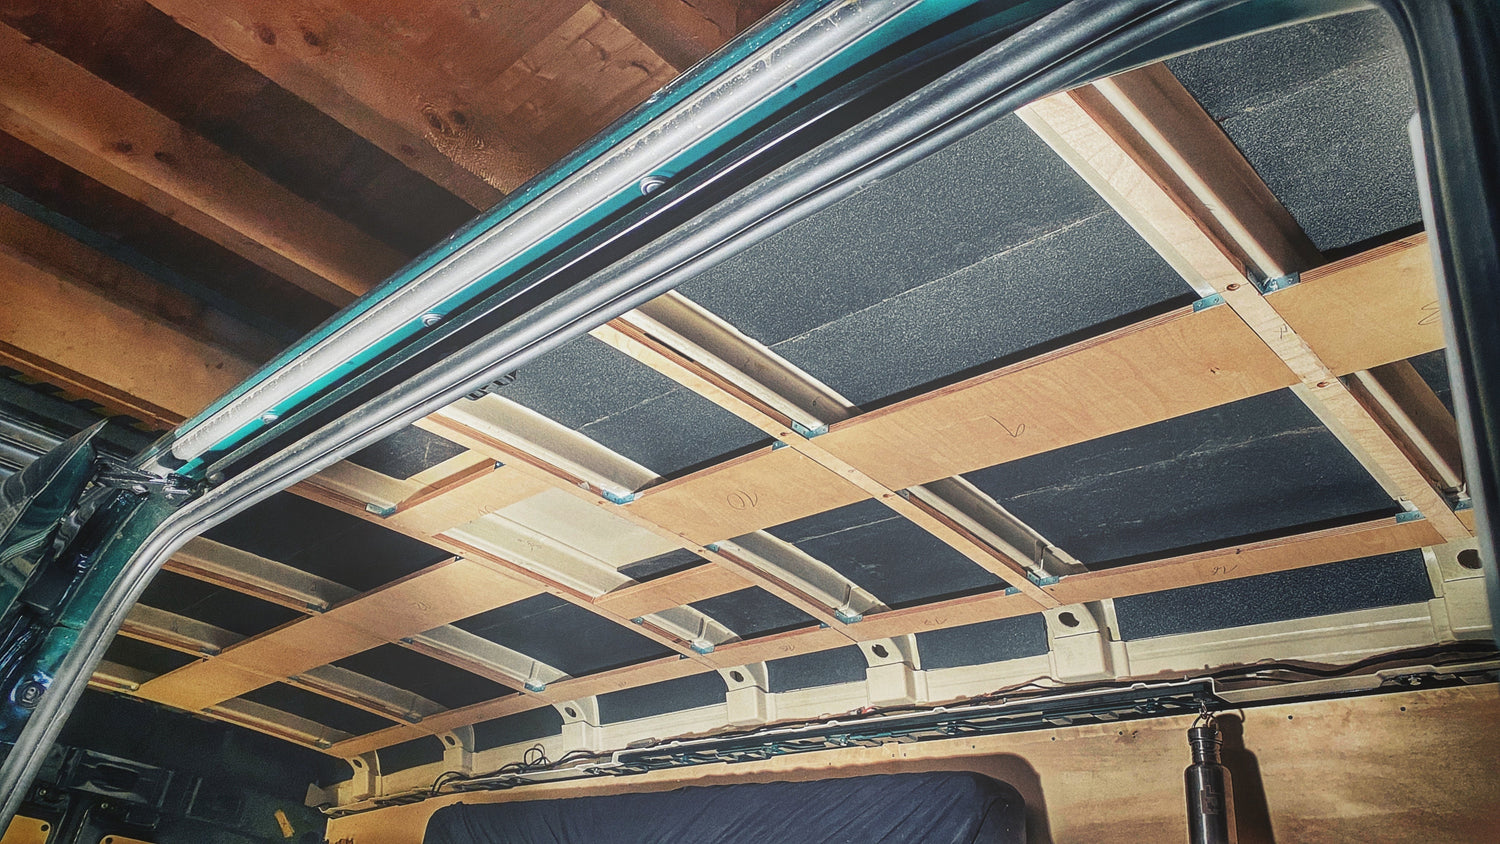
Nowthat the insulation is in place and you’ve laid the most important foundation for a warm, dry home, it’s time to build the subframe, which is inextricably linked to the insulation. In this article, we’ll cover the basics of this framework and show you simple solutions to get you started quickly.

Image: Steven Funk
The subframe isn’t just there to cover the walls. It’s the invisible, load-bearing framework that will later ensure your bed, closet, and kitchen unit stay securely in place—even if you slam on the brakes—and nothing rattles!
Here, you’ll learn how to create a stable foundation and how you can get started right away.
1. How do I build the subframe as the foundation for my conversion?
The main purpose of the subframe is to create a stable connection between the new furniture and the metal body without damaging the vehicle’s exterior.
What materials are best suited for the framework?
-
Birch multiplex (plywood): Although square-edged lumber is often used, birch multiplex (ideally 21 mm thick for maximum screw-holding strength and stability) offers significantly greater stability and prevents the splintering that frequently occurs with solid wood. It is the sturdier, albeit heavier, choice.
Why don’t we drill holes?
Every unnecessary hole in the van’s sheet metal is a potential source of rust. Therefore:
-
Use factory-installed mounting points: Whenever possible, use existing threads or holes in the body struts.
-
Threaded rivets (Rivnuts) are lifesavers: This is the best way to create mounting points without drilling through the outer panel. A rivnut is inserted into an existing hole in the inner sheet metal, pressed into place, and provides you with a secure internal thread (M5, M6, etc.) into which you can simply screw your wooden slats.
- Glue is the new screws: Modern polyurethane adhesives (such as Sika 554) are often the more stable and secure choice today for bonding wood and sheet metal. They provide a permanently elastic bond that absorbs vibrations and stresses during driving, in stark contrast to rigid screw connections, which can loosen over time.
The holding power of these adhesives is enormous: an area the size of a thumbnail can already hold approximately 3.5 kg. Over a length of one meter (e.g., when bonding a multiplex strip), the adhesive can thus hold approximately 350 kg. Therefore, permanently elastic bonding is often superior even to the best screw connections and is the clear recommendation for load-bearing elements.
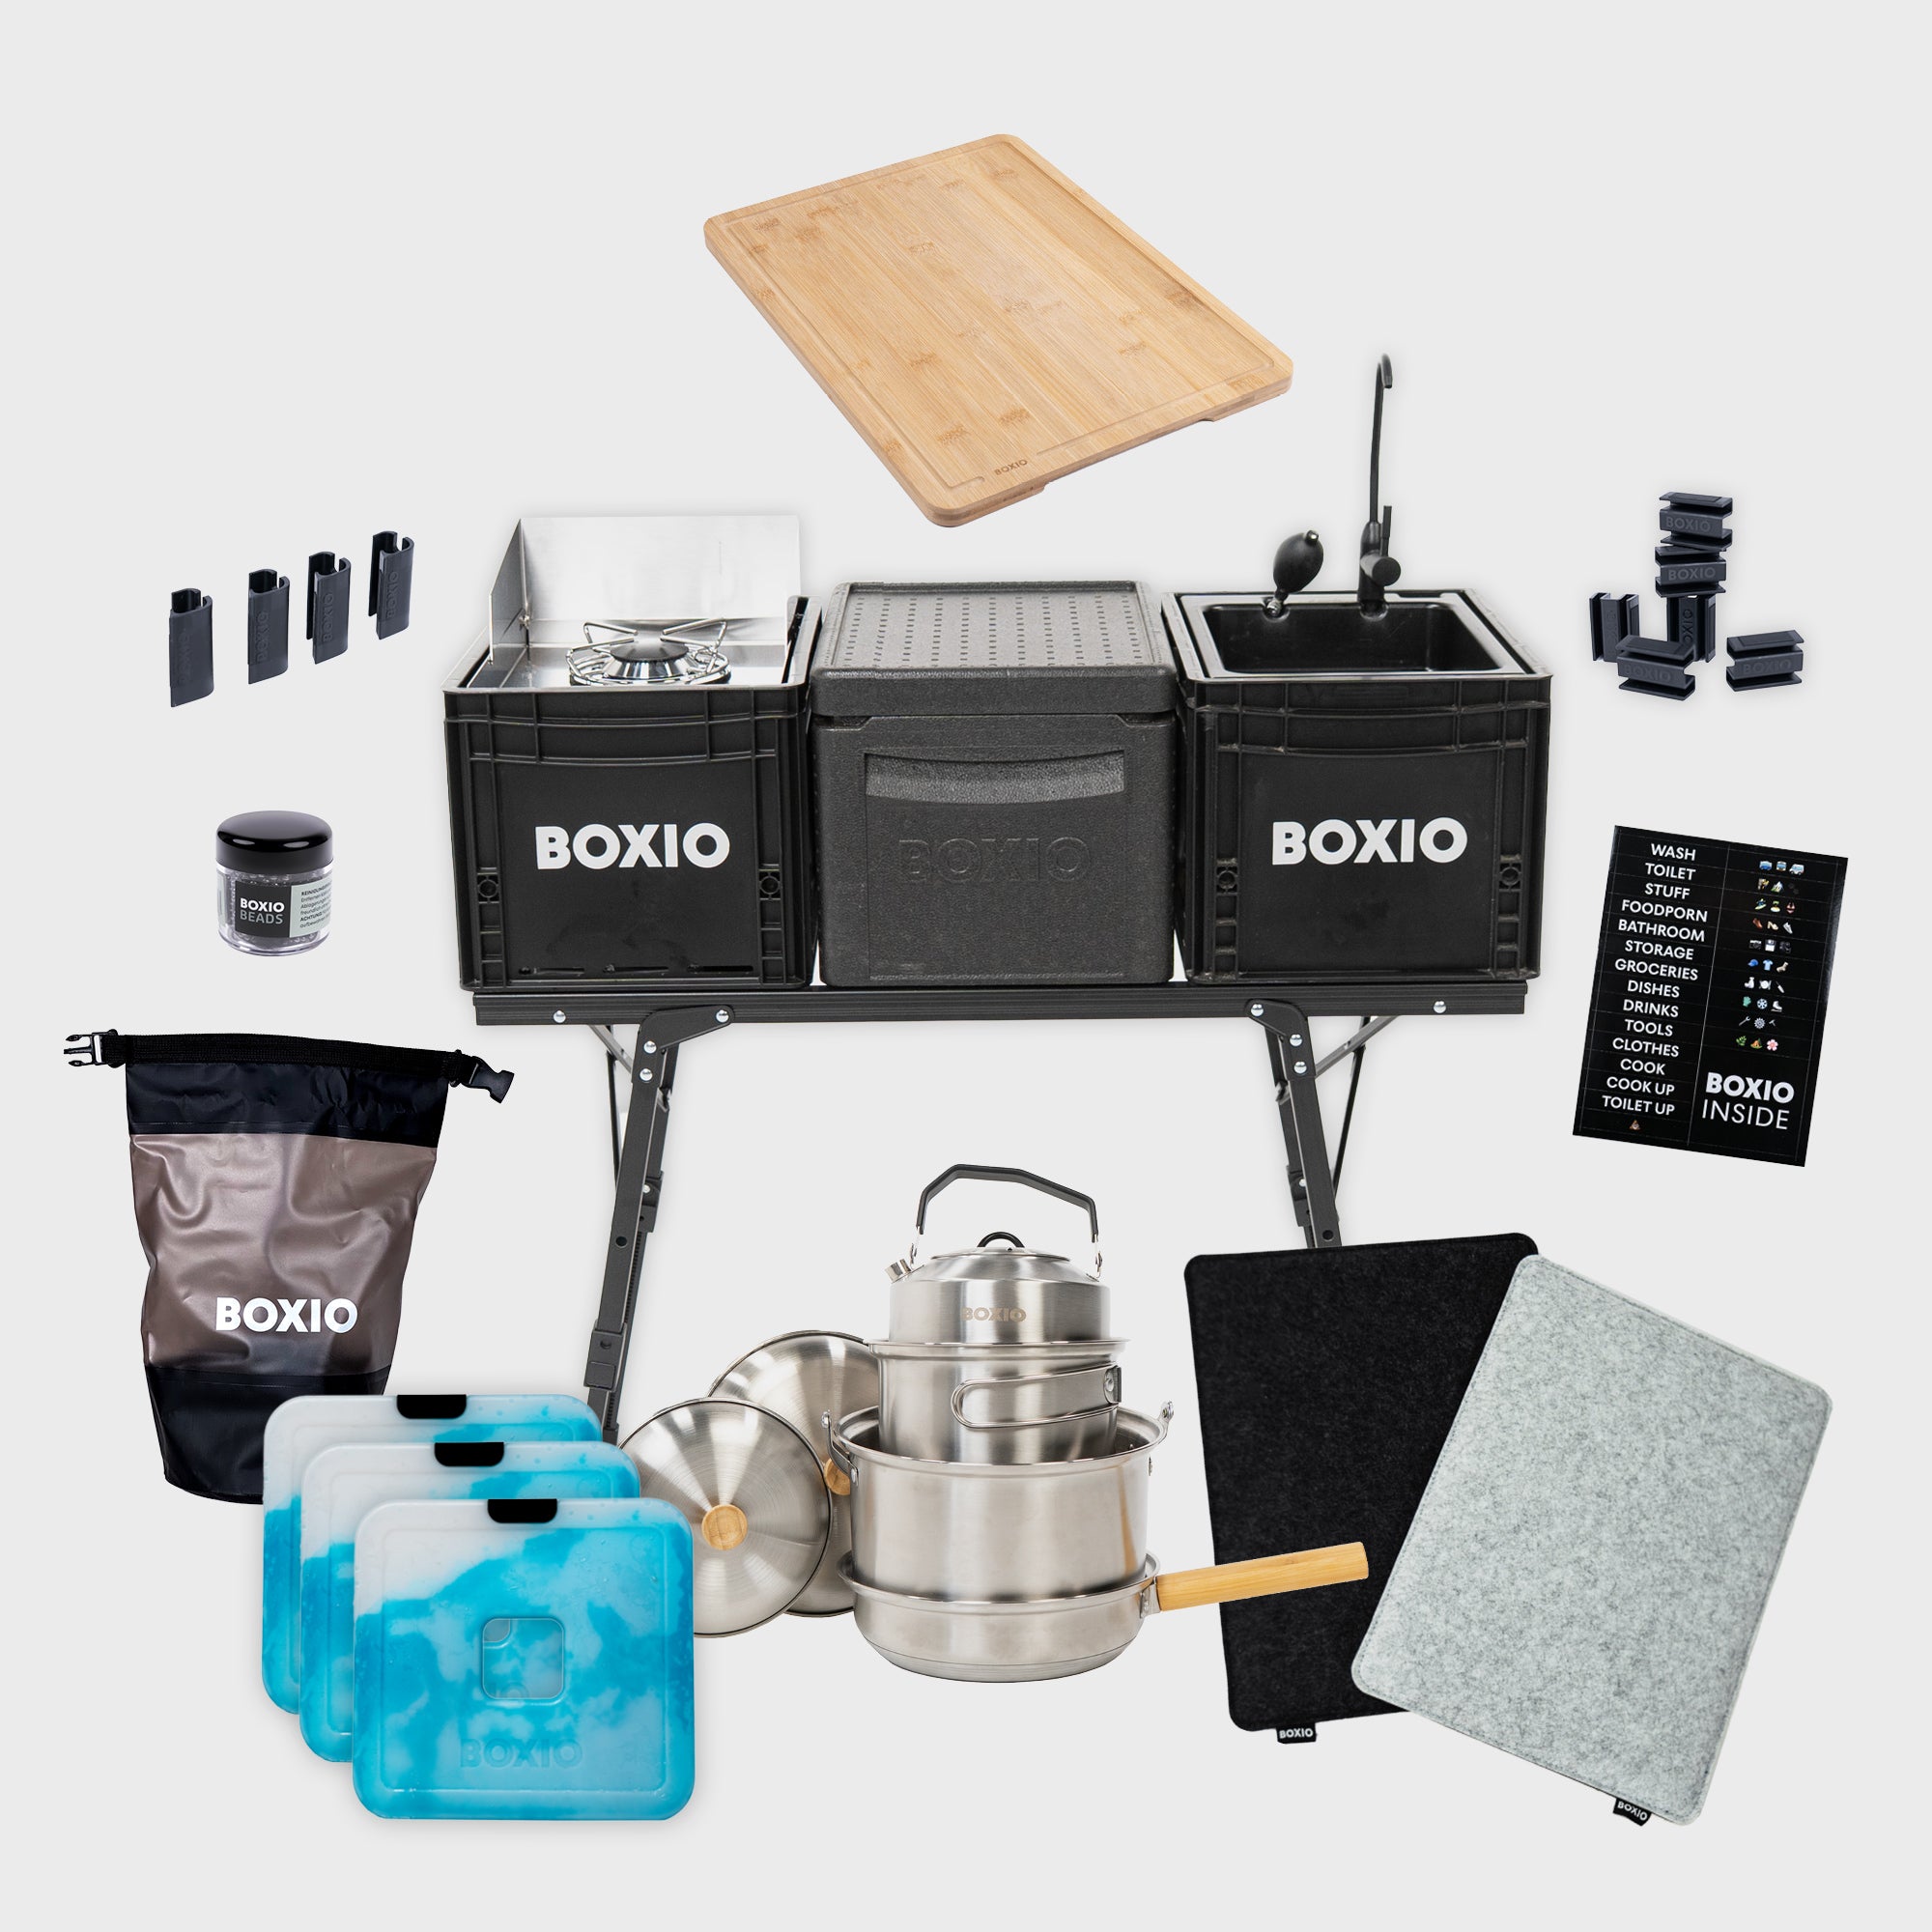
BOXIO KITCHEN PLUS I Mobile outdoor kitchen with standing height
Where should I position my subframe?
Positioning is crucial. The subframe should preferably be bonded where the vehicle’s sheet metal is most rigid (e.g., at corners, folded edges, and solid bracing).
Two important rules of thumb:
-
Reinforce support points: Place the battens primarily where your furniture, wall cabinets, or bed frame will later be bolted down. This ensures that the load is transferred directly to the sturdiest areas of the vehicle.
- Wall paneling: Once the substructure is securely in place, the wall paneling can be installed. Thin panels such as 4 mm multiplex (e.g., poplar or lightweight Queenply) are suitable for this purpose.
2. What should you keep in mind regarding the floor panel?
The floor is the most important reference point in the van. It serves as the foundation for everything you place on it (seats, table legs, cabinets).
-
Substructure: Here, too, we glue down 21 mm birch multiplex battens. It’s best to place them where the heaviest loads are expected—under the furniture, the entryway, and walkways. Insulate thoroughly in between.
-
Floorpanel: Use a sturdy, moisture-resistant panel, such as a 9 mm or 12 mm multiplex panel or a screen-printed panel. There are also special floor panels that have an additional layer of cork in the middle. This provides extra acoustic insulation.
- Mounting: The base panel is screwed directly onto the substructure. This gives you a very solid foundation on which to build everything else.
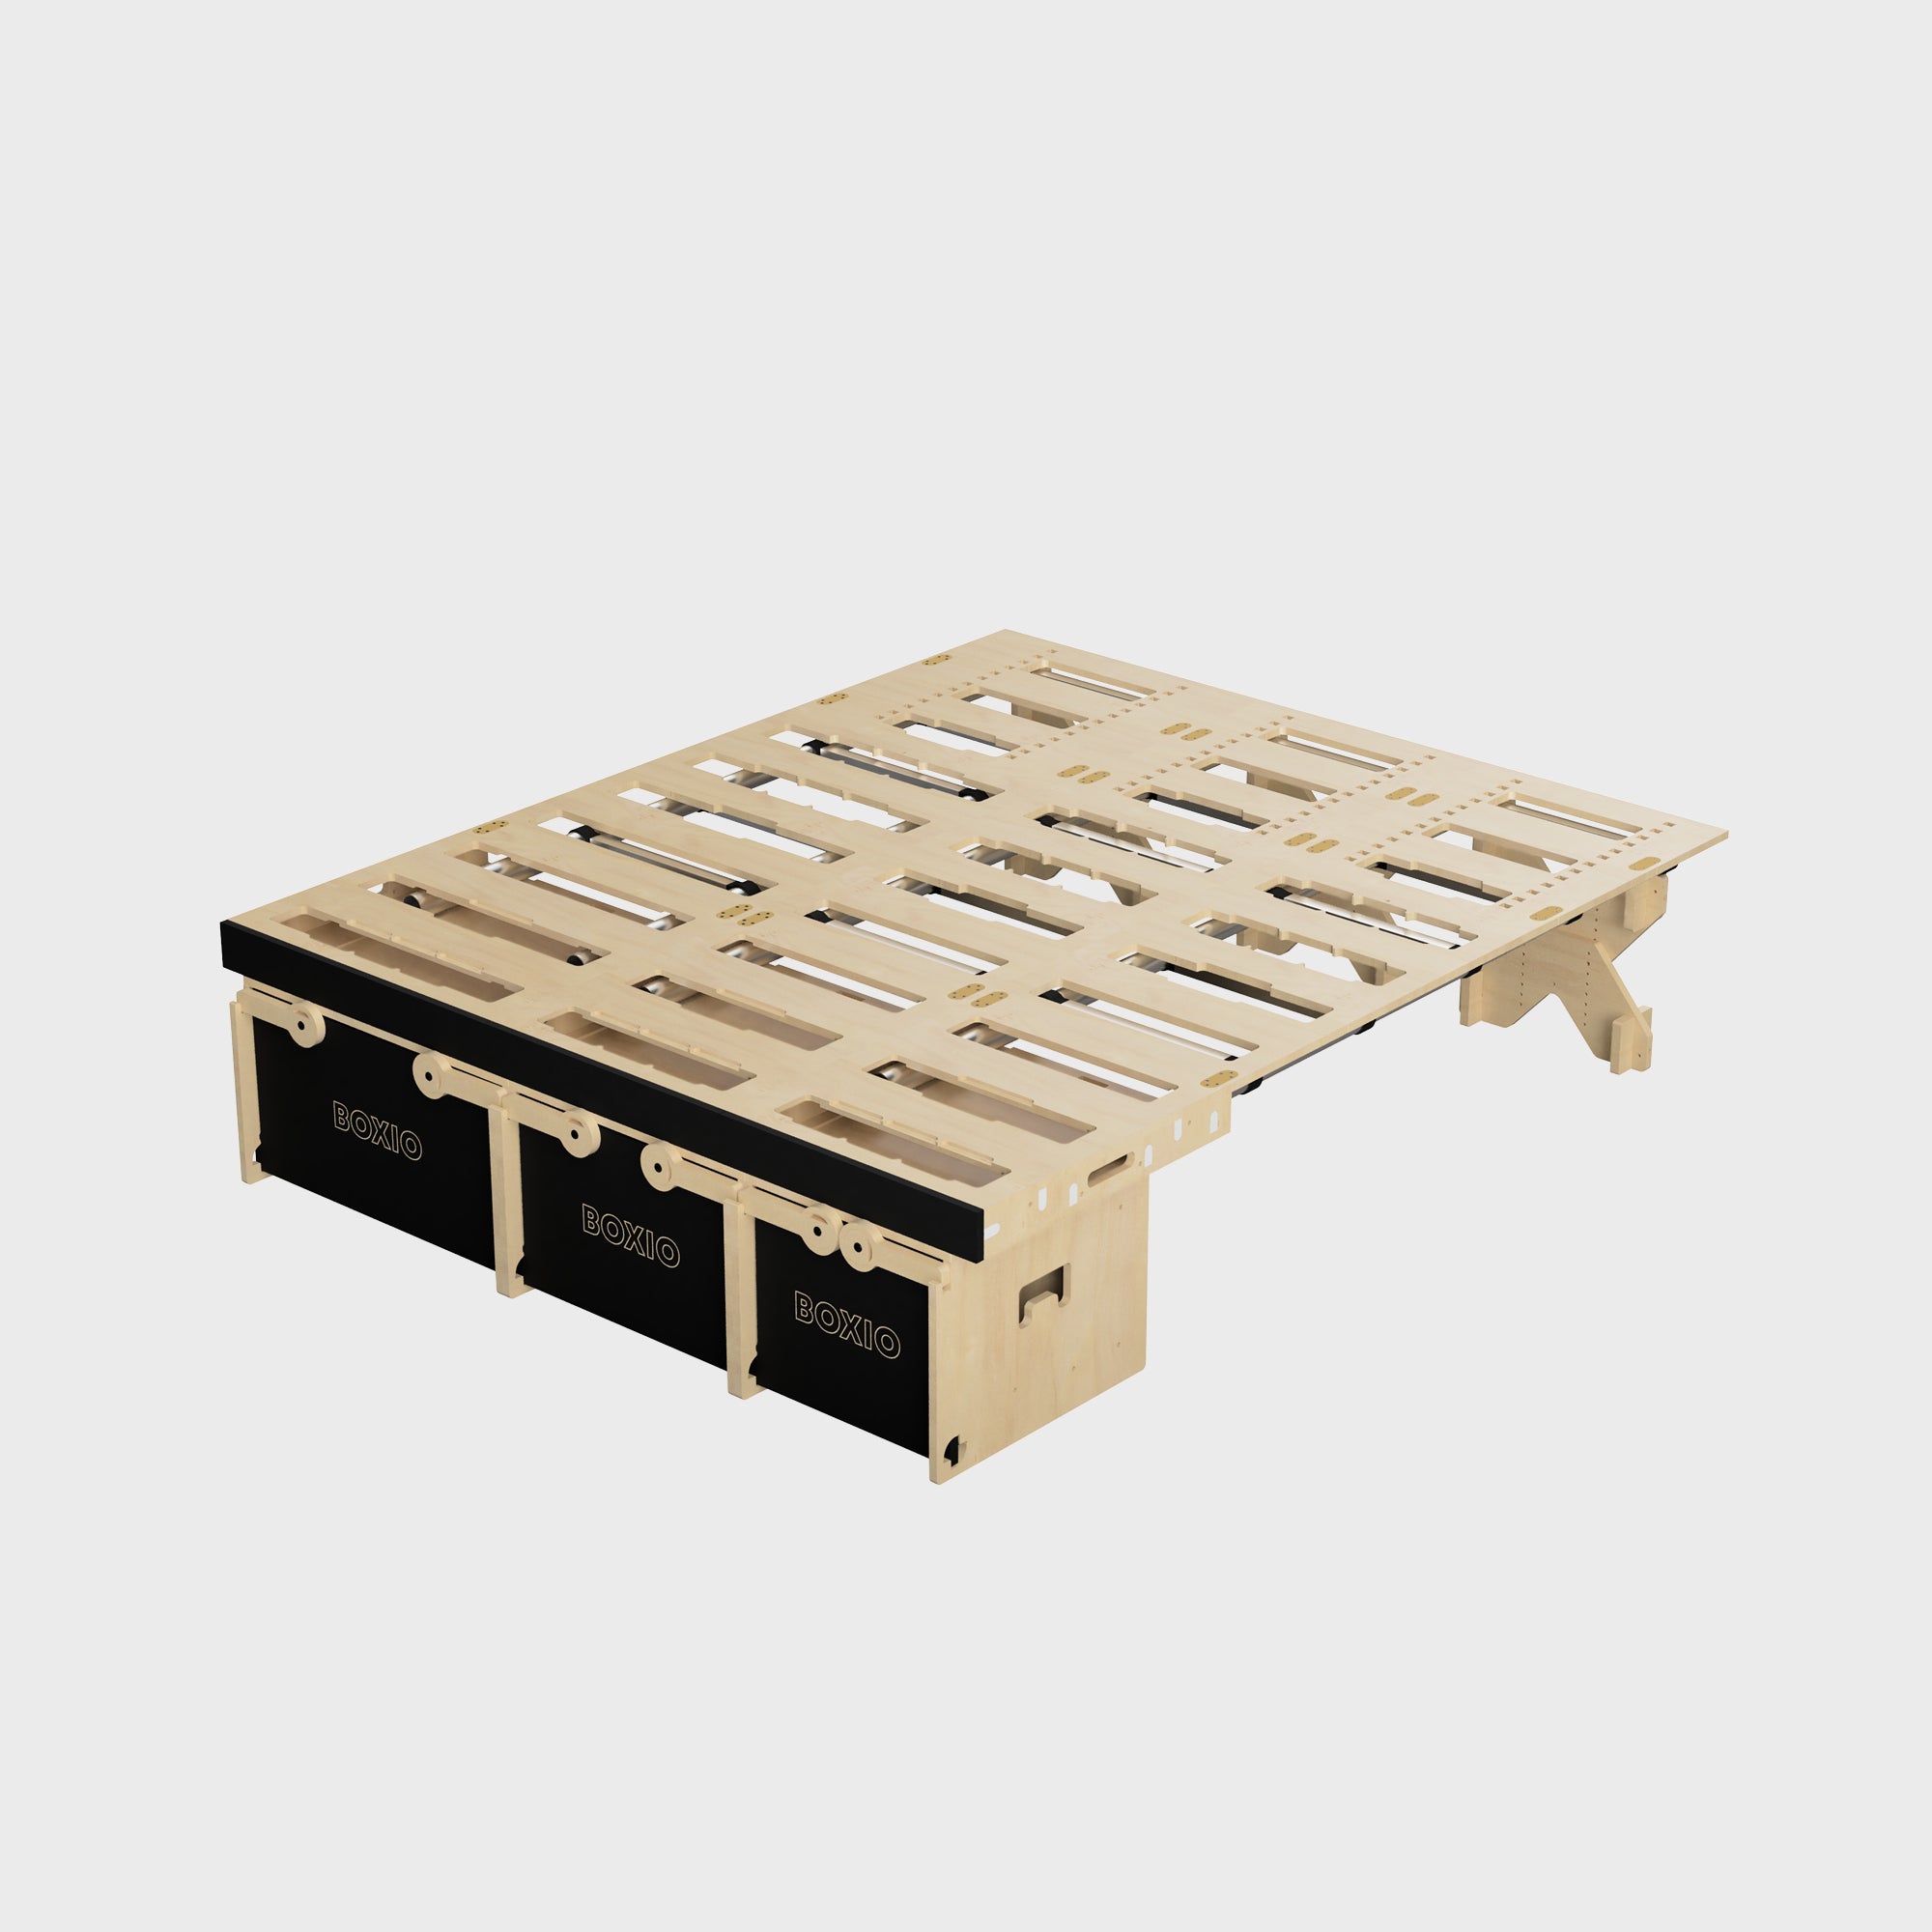
BOXIO RACK BOX + BED BUNDLE XXL I Modular camping box
3. How to Get Started Quickly: Temporary Furniture, Modules, or Repurposed Items?
Before you tackle the time-consuming task of building permanent units, you can get started right away with simple, temporary solutions. This gives you time to figure out your ideal workflows and dimensions in real-life camper life.
What simple solutions and items can I repurpose?
Instead of cutting wood and building cabinets, you can repurpose everyday items:
-
The sleeping system: A foldable slatted frame—or simply a high-quality, thick sleeping pad or rubber mat on the floor—will suffice for the first few nights. Alternatively, sturdy stackable storage bins can serve as a base for a fold-out mattress.
-
Storage & Kitchen Basics (Euro boxes): Sturdy plastic crates (Euro boxes, IKEA crates, or even beer crates) are your best friends. They serve as stackable cabinets, a cooking surface, and can even be used as a makeshift bench.
-
Table &Chairs: Use your folding camping table and camping chairs. In the van, these serve as a dining area or work surface and can be quickly stowed away when not in use.
Safety Note: Even makeshift items MUST be secured while driving! Use the existing tie-down eyes in the floor of your van to secure boxes, mattresses, and folding furniture with webbing straps so they don’t turn into projectiles during an emergency stop.
Are modular kits a good option for a quick start?
If you want to hit the road quickly or keep your conversion flexible, a ready-made modular kitis an excellent alternative to building everything from scratch.
Such systems (such as the Boxio Rack Module) often offer space-saving all-in-one solutions that already include the essential features:
-
Kitchen unit: With sink, stove, and storage space.
-
Sleeperbench: Convertible seating and sleeping arrangements.
-
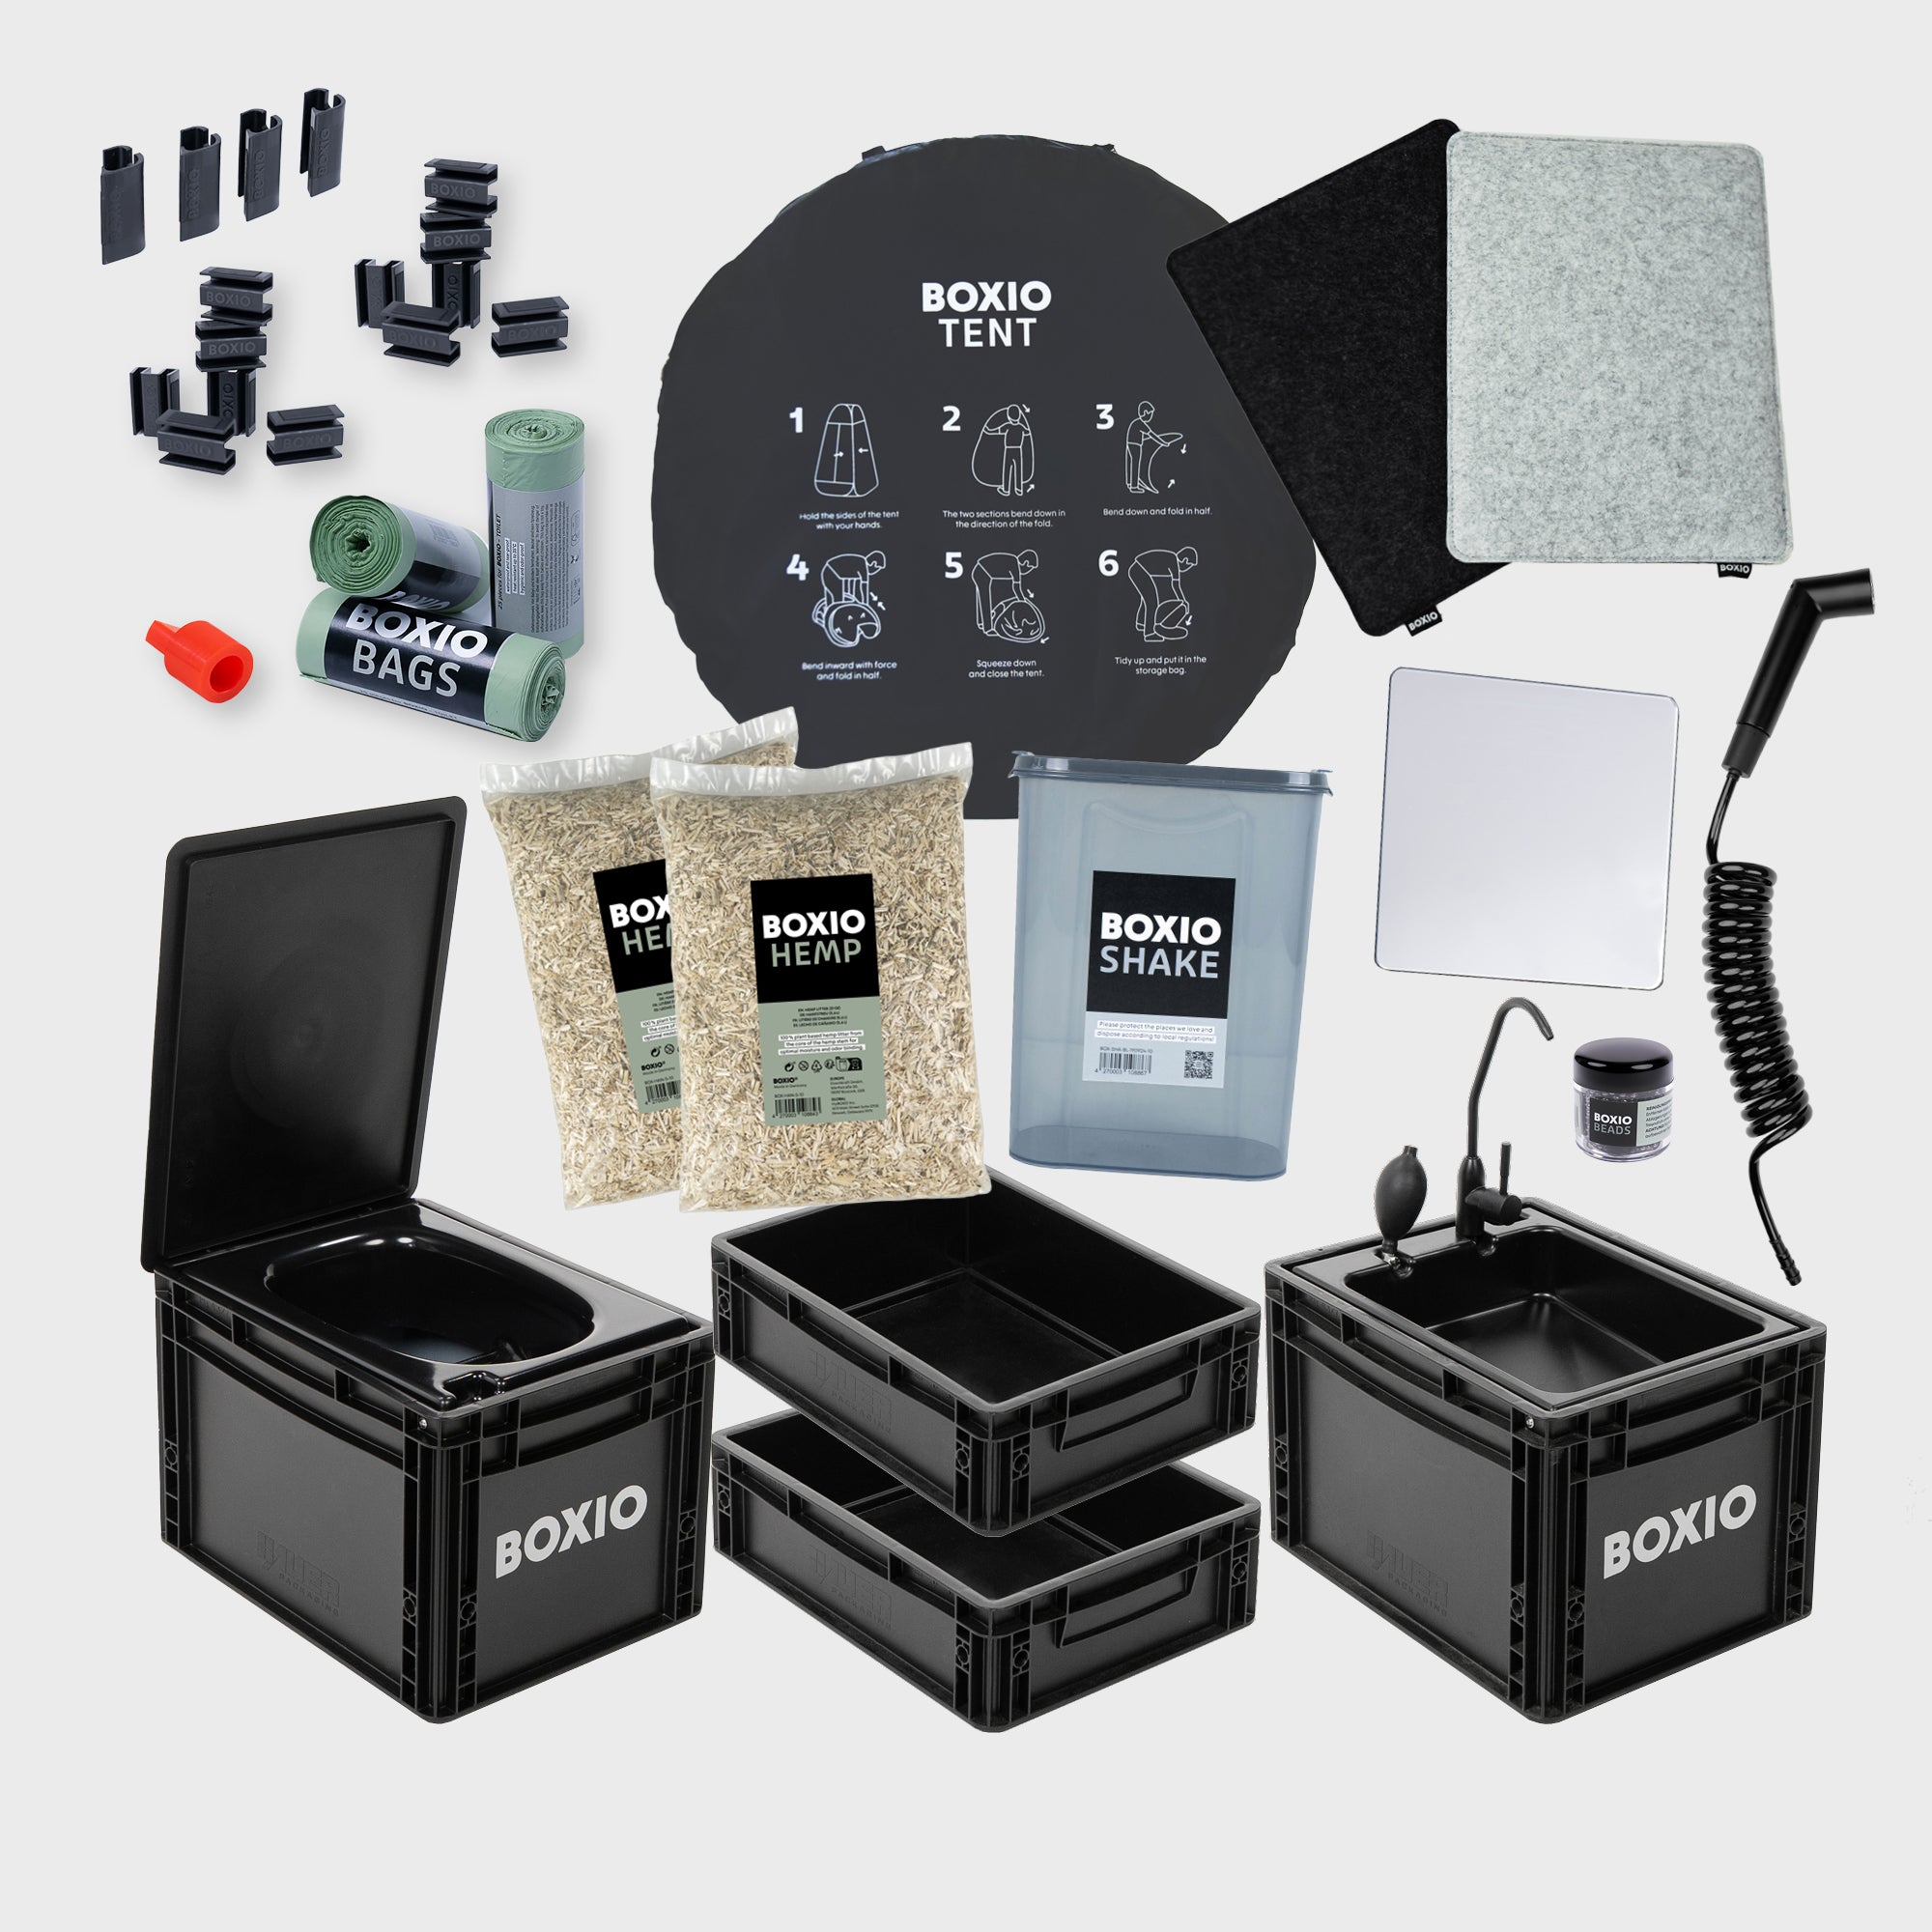
Toilet: Integrated, removable solutions.
Your benefits: The modules are lightweight, save planning time, and can usually be installed quickly without a complex substructure. Often, floor mounting is sufficient. They’re ideal for keeping your camper from “sitting idle in the garage” and offer the option to switch to a permanent conversion later on, since they can be dismantled.
FAQ: The most common questions about the subframe and furniture construction
1. How do I securely attach the multiplex strips? The multiplex strips are glued to the pre-treated vehicle body using a strong, permanently elastic mounting adhesive (e.g., Sikaflex or Dekaseal).
2. Do I need to bolt my furniture down in the camper? Yes, absolutely. Anything loose inside the vehicle can become a dangerous projectile in the event of an accident. Even lightweight cabinets must be secured to the vehicle frame via the subframe.
3. How do I prevent rattling or creaking noises? Use felt between all wood-to-wood joints that aren’t permanently glued. Where wood meets sheet metal, the insulation and adhesive ensure a quiet ride.
BOXIO SANITARY PLUS | Mobile bathroom with TENT
Conclusion:
The subframe is the most challenging and fundamental part of the entire conversion. It requires precision when adapting to the curves of the vehicle body and care when preparing the bonding surfaces to ensure the adhesives achieve their full holding power. But precisely because this is where the foundation is laid, every hour invested is worth it: If you work cleanly, sturdily, and safely, you’re not only creating a stable base for all future furniture. Above all, you’re ensuring that your van remains a place of tranquility even after tens of thousands of kilometers on bumpy roads. A sturdy, vibration-dampening substructure prevents creaking noises, protects against material fatigue, and guarantees that all fixtures remain securely anchored—the best conditions for many years of carefree, rattle-free travel enjoyment.